Pepakura Designer | Unfold 3D Worlds | Craft with
Precision | Ignite Your Creativity
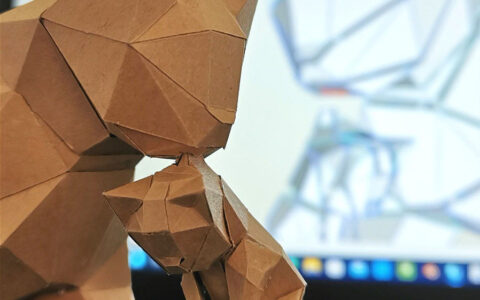
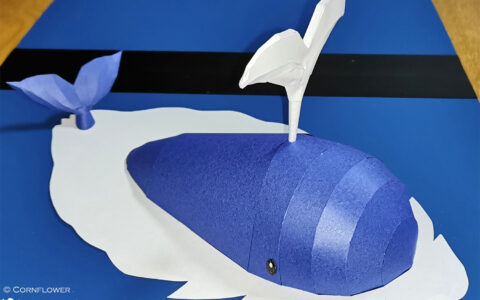
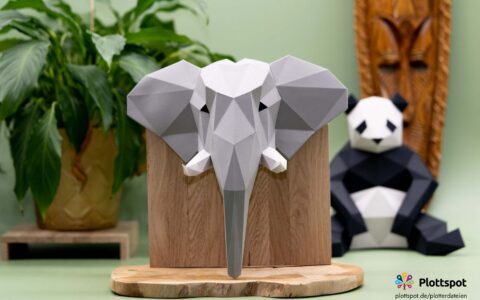
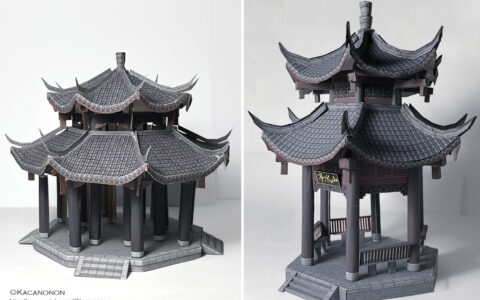
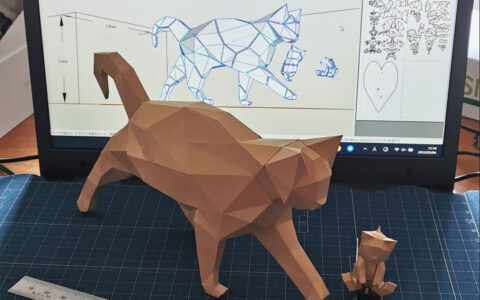
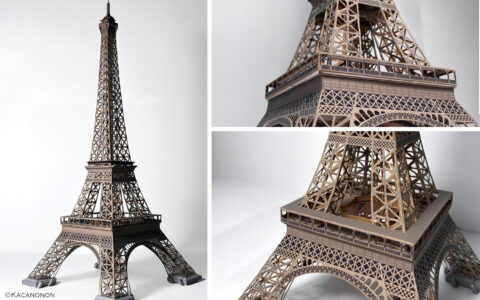
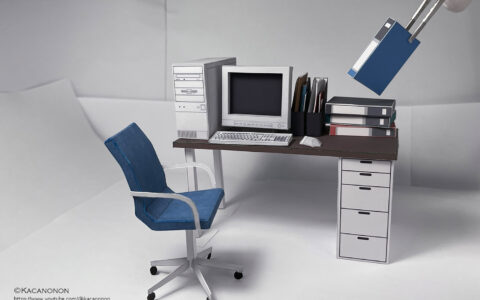
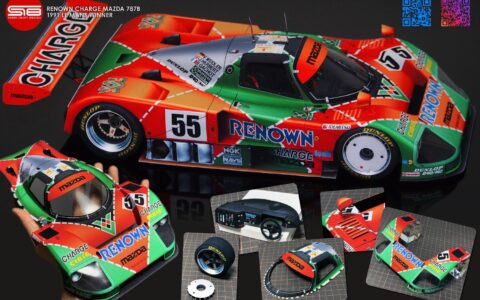
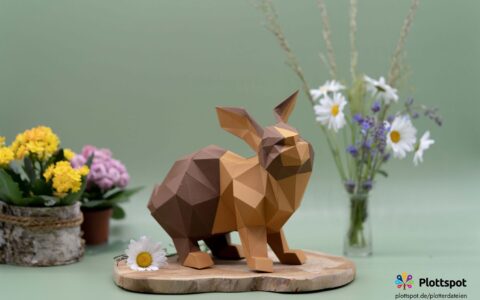
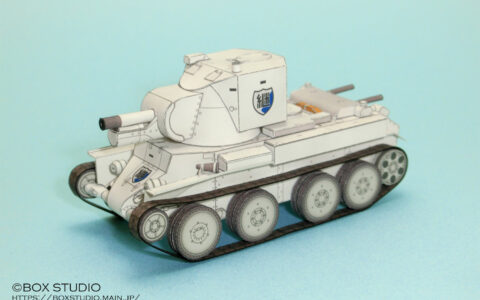
“Discover the art of paper crafting with Pepakura Designer, the tool that
seamlessly turns 3D models into 2D patterns ready for cutting, gluing, and assembling. Experience the
joy of bringing digital creations to life with precision and detail. Elevate your craft, whether
you’re a hobbyist or a professional designer.”